When it comes to skills, the most important one in mountain biking is braking. You will use your brakes a lot more than you shift gears, corner, descend, ascend, etc. Braking also happens during, or before, all other skills. So when I get absoute beginners who want to learn how to mountain bike and do it right, the first real skill I will teach them is always braking.
Most people will use anywhere from 70 to 100 percent of their rear brake when it come to mountain biking, but when it comes to proper braking it should be more like 60 percent (or more) with the front and 40 percent (or less) with the back. I know what you are going to ask. But that's going to throw me over the handlebar like a catapult in the Trojan wars! Well, not if you are in the proper position.
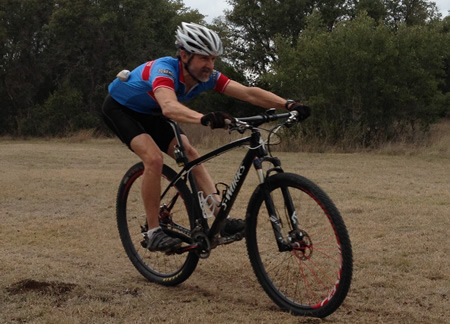
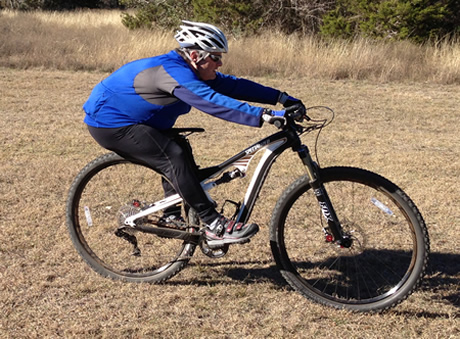
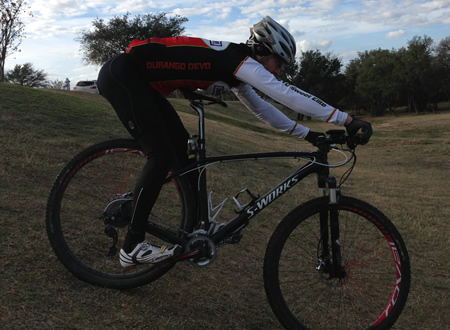
When you need to brake hard and slow down quickly, you need to have your body weight way behind the saddle. Once you are in the proper position then you are safe to use the power of your front brake.
More: 10 Things I Wish I Knew From the Start
The front brake will always slow you down faster and without losing your line. If you lock up your rear wheel you will lose your line and, of course, it will take longer to slow down to the appropriate speed.
So here is how I would practice this skill:
Find a grassy field where you can practice your skills.
Find a rock or any object that you can use as a marker. If you have cones, great, but it's really not necessary. Put your marker on the ground. This will be your marker to START braking.
Now, ride away from the hill (if there is a gradient you will want to come downhill towards your marker). Speed up to a comfortable speed, looking straight ahead, while being fully aware of your marker in your peripheral vision.
More: The Basics: Mountain Bike Skills You Need to Know
As you get closer and before you start braking, you need to get into your READY position:
Once you are in your ready position and can no longer see the marker in your peripheral vision, pull hard on your front brake and lightly on your rear brake, until you have almost come to stop. Right before you fall over get on top of the saddle and start pedaling again.
The goal of this skill is:
If you start skidding with your rear wheel then you need to do one or all of the following:
If at all possible do this with a friend. Take turns doing this while the other one watches or takes pictures or video of you doing it. Have the mark for your start and stop points, and see if you can improve it.
More: How to Safely Turn During Descents
Winter Cycling Tips: Stay Comfortable & Protected
Mastering Patience: A Fisherman's Guide to Targeting Muskies
Alaskan King Crab Fishing: Risks & Rewards of a Dangerous Career

Copyright © www.mycheapnfljerseys.com Outdoor sports All Rights Reserved