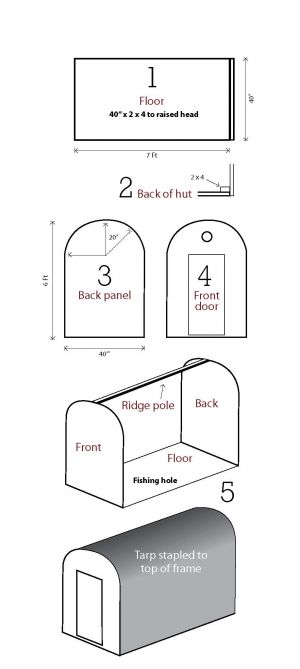
 Three sheets of 5/8 inch plywood
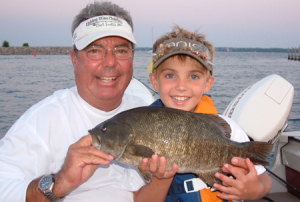
Smallmouth Bass Fishing: Mastering the Twitch & Pause Technique
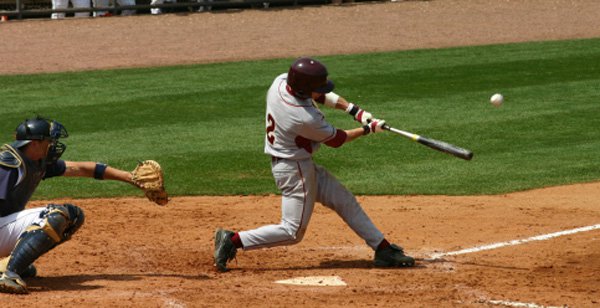
MLB Playoffs 2024: Series Updates & NBA Regular Season
Bass Tournament Prep: Essential Checklist for a Successful Day

Copyright © www.mycheapnfljerseys.com Outdoor sports All Rights Reserved