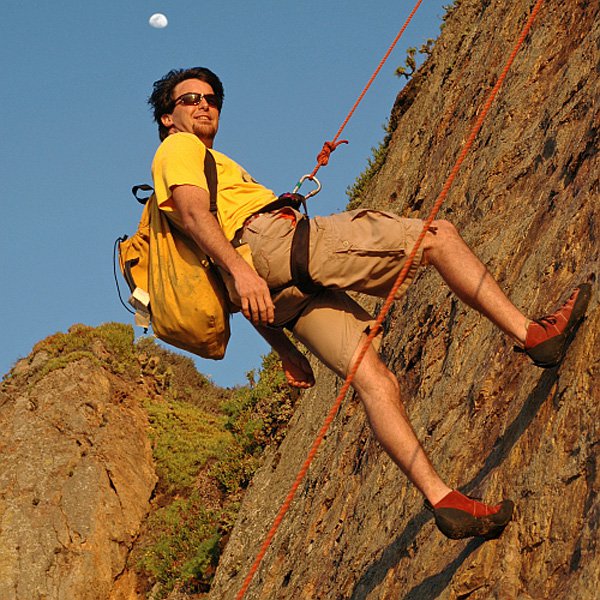
Still Catching An Edge? Stop it.
The Top 5 Pro Snowboarding Tips Every Rider Must Master
from Pro Snowboarder Blake Tholen Clark of Flowingfreeride.com
More snowboarders are turning to online resources to find lessons that help that help them go extreme. And, yes—it's true, you can learn to snowboard online with proper technique. The tricky part is having the discipline to find and master professional lessons to build skill on your level— instead of hucking tricks you're not prepared to do! Master these 5 snowboard tips from AASI Snowboard Pro Blake Clark—head developer of Flowing Freeride Online Snowboard School—and you're guaranteed to rip up the slopes with serious style and fewer injuries.
BUT FIRST, let's learn a little snowboarding history. Modern snowboarding began in 1965 when an engineer in Michigan named Sherman Poppen invented a toy for his daughters. He fastening two skis together and attached a rope to one end so he would have some control as they stood on the "board" and glided down the hill. His wife Nancy called the invention the "snurfer" (snurfer = snow + surfer).
Poppen's toy became very popular and he eventually licensed the concept to the Brunswick Corporation. Over the next ten years, they sold about a million snurfers. Snowboarding grew in popularity and the board as we know it today was the result of designs that were eventually put into place by pioneers such as Dimitrije Milovich, Jake Burton Carpenter (founder of Burton Snowboards), Tom Sims (founder of Sims Snowboards), and Mike Olson (founder of Gnu Snowboards). By the late 1990s, Snowboarding became an official Olympic event. Today, Snowboarding is not just a fun sport, but a way of life.
PRO SNOWBOARDING TIP #5: Fight your instincts and charge the mountain!
It's human nature to want to lean back while riding because subconsciously we think it will help us slow down to feel safe. However, leaning back is one of the worst things you can do! If you want to ride right speed is essential. So, don't fight going fast and instead learn to charge the mountain!
First, you need to get comfortable steering with your front foot. When switching edges for a turn, all of your initial moves must start from the bottom up— and be led with your front foot. Start with a slight bend in your front ankle, then move to a steeper bend in your knee, deepen the move by adding in your front hip and if needed slightly drop your front shoulder. If you want to overemphasize this move even more during your practice, reach toward the front of your board as if to grab it, which will move your weight further forward.
For new riders front foot steering is especially important when getting off the lift, which seems simple but can be particularly dangerous. On the lift your back foot isn't strapped in, so if you add more weight to your back leg, you'll be more likely to slip off the board and crash! Just keep practicing and you will eventually build muscle memory, which will override the urge to lean back. This also ties into the snowboard "reference alignments," which we'll talk about coming up.
PRO SNOWBOARDING TIP #4: Be Safe & Know The Code!
Look, nothing throws off a season like an injury or a crash. On the slopes you'll encounter all levels of riders and skiers—from kids, to wobbly adult beginners, and speedy expert riders. If you're an expert rider it's important to be extra responsible. Just like driving, follow the code, and don't go speeding around and merging recklessly. If you're a first-timer do not just jump on a lift! This would be dangerous for you and everyone else. Start on flat terrain and make sure you're comfortable strapping in, skating, and gliding on your snowboard with your front foot in and back foot out. Then find an area that has more steepness and strap in both feet. After you can stop with both feet strapped in, then advance to the training hill (aka bunny slope). If you can keep your balance on this mild slope and make S-turns then advance to the lift for green beginner runs.
Regardless of your level, all riders must master navigating the slopes as safely as possible. So, know the code listed below:
THE CODE
Always stay in control
Riders ahead of you have the right of way
Do not obstruct a trail & remain visible from above
Look uphill & yield when merging
Use devices to prevent runaway gear
Obey all signs & warnings & keep off closed trails & areas
Load, ride, & unload the lift safely
PRO SNOWBOARDING TIP #3: Have a Balanced Stance!
If you're fairly new to riding, a good tip is to have your binding angles be in a "ducked" stance. This means the angles of your feet are positive and negative—for example (9º, -9º). Your stance should also be about shoulder width apart, not too wide or too narrow. It's good to note that stance width and binding angles will vary for different riding styles, we cover a lot of this in our training courses, but this is a good rule of thumb for beginners.
As you practice you'll want to master distributing your weight both from edge-to-edge and from nose to tail—which is called fore and aft motion. Start by practicing stationary on a flat surface before you advance to the slopes. Simply strap in and distribute your weight fore (toward your nose) and aft (toward your tail). Also, steady yourself against a wall or other object and practice distributing your weight on your toe-side edge and heel-side edge. Notice the way your center of mass moves and how you need to balance. Do this enough to develop muscle memory. Mastering these movements are essential to balancing more efficiently on your edge and carving with fewer skids.
To practice on a slope, balance your weight on both feet but move fore/aft while looking downhill. Try at least 5-6 turns going more fore toward the beginning and ending aft. Start to develop rhythm while making symmetrical turn shapes. Making consistent size turns also allows those behind you to know where you're turning so they can give you space and pass safely. Also being fit is key to balance so get "snowboard fit" by working out, stretching, hitting the gym/pool, yoga, etc., While you're off the snow continue to practice the static part of this drill to feel your body and get that muscle memory, which will make it easier on the slopes!
PRO SNOWBOARDING TIP #2: Align Yourself!
Okay let's talk about reference alignments. These are alignments that you "refer" to—this doesn't mean you always stay in these positions but you move in and out of them like guidelines. Knowing and practicing reference alignments help you ride the all types of terrain better especially steeper terrain and the half-pipe.
Here are the reference alignment rules you can use as a guideline while riding:
Your body should be perpendicular 90º to the hill/slope. As an example this means you're not leaning back away from the slope.
Your hips, shoulders, knees & board are parallel are to the slope.
Your center of mass is in the center of your board. If you have a directional board with a longer nose this may mean you adjust your weight or stance so your mass is still in the center.
Your hip is perpendicular to front your foot angle.
PRO SNOWBOARDING TIP #1: Know & Choose The Right Gear!
The snowboard's simple shape is deceptive. In reality each board is crafted with technology that significantly impacts your riding. When you know what you need, your board is the ultimate tool. Unfortunately, too many riders go a long time without understanding the options involved in riding set-ups or feel intimidated when choosing gear. Snowboards set-ups are dependent on your riding style, terrain choice, even the time of season and snow-pack. For instance you'll want to break out a rock board instead of your new gear at the beginning of the season until the snow pack builds up. You'll want to consider your boards edge, the side-cut, camber shape etc.
To know your equipment, again, isn't just your snowboard set-up—gear covers a lot.
Snowboard clothes: Make sure you choose waterproof, with vents for cooling, layer up so you can shed as needed, and choose durable flexible materials. Also, consider the cut of the clothes to allow your body to flex.Mittens vs. gloves: Mittens will keep you warmer but if your hands are sweating you'll take them off and there goes your hand protection. Gloves allow you to use each finger but don't keep you as warm which can cause huge problems. What color of goggle lens do you wear on a certain day so you can see the variations in the snow. With clouds it becomes low light conditions and you'll want a lens that allows more light and on sunny days you'll want one to shade like sunglasses.
Boots and bindings: These come soft to stiff, lace or laceless. You should also consider the wear and tear. For instance maybe you're a park rider and you like a soft boot, but choose a slightly stiffer boot since you know you'll work it in and get more bang for your buck. With bindings you'll consider highbacks, base plate, angles, sizes.
Boards: There are a lot of board technologies to understand, we cover options in-depth in our training, but as a quick snapshot, here are the major considerations. Your board's sidecut comes in 8 meter and 10 meter and affects the shape of your turns. Your board's edge is really important because that's what grips you to the snow. You can have bevel edges, tuned/detuned edges, magnatraction with several points of contact that cuts through ice etc.—a lot of options to consider. While the shape of your board is your side cut there is also the shape of your entire board, which is camber. There are all kinds of camber shapes and your desire will change when you get experience. For instance, rockers banana boards make it hard for beginners to catch an edge but also make carving difficult, which is ultimately what you'll want to do.
Backcountry: beacon, probe, backpack, shovel, snow-saw, extra food/water, survival kit, lighter & avalanche airbag. The number one safety equipment is your helmet and should always be worn while you're riding but other things are: wrist guards, knee/elbow/shin pads, impact shorts (for your tailbone, hips and thighs) and a spine guard. The padding is nice but it can limit the amount you're able to flex/extend. All these things can make your day more comfortable.
See These Tips in Action: https://www.youtube.com/channel/UCXbdLsa_eeLstY2TZEyWXdw
Fall Blade Baits: A Proven Tactic for Bass, Walleye & Crappie
Fly Tying Organization: Streamline Your Fly Fishing Craft

Crankbait Color Theory: Using Red to Attract Fish
Copyright © www.mycheapnfljerseys.com Outdoor sports All Rights Reserved
