How many times have you been on the green in regulation, lined up that 12 foot putt with the hopes of getting your first birdie, but walk off the green with a double bogie?? Of course you immediately turn to your playing partner and ask if she too had felt the tremor... the same one that caused the putt to roll past the hole three times before going in. Well, unless you’re playing golf on the San Andreas fault line, the likelihood of a tremor causing your ball to sail past the hole multiple times is slim to none. Oftentimes, it’s the lack of feel for speed, distance and break that causes the dreaded 3 putt. The following review of stance and set-up along with two great practice drills, will help to improve all three of these putting elements.
First, let’s talk about the set-up and stance. Your hand position on a putter should be similar to that of your irons. However, putter handles differ from irons in that most have a flat side on top. Your thumbs should rest on top of this flat side, and your hand pressure should be the same as if you were holding a small bird.
One of the most important things in the putting stance is that you’re comfortable and balanced. Your feet should be about shoulder-width apart, knees slightly flexed, and your weight evenly distributed toward the balls of your feet. You should slightly bend from the hips with your eyes over the ball, and the ball should be slightly forward in the middle of your stance. To get the ball positioned properly, start with both feet together across from the ball, step with the target foot first (roughly 4-5 inches), and then step with the non-target foot to complete the shoulder-width stance.
To ensure that your eyes are over the ball, get into your stance and set up, then hold another ball under your eyes and drop it. If you’re positioned properly, the ball should drop directly on top of the ball on the green. If it doesn’t, make the slight adjustment necessary to position your eyes over the ball by moving your body closer or farther away. Re-check your position with another dropped ball.
Now that you‘re ready to go, let’s go over the motion of the putt. An efficient putting motion is like a pendulum, very smooth and rhythmic. Your arms and shoulders should be doing most of the work, and your hands should stay very still. Your lower body acts as a foundation and shouldn’t move at all.
Let your arms hang naturally below your shoulders. Look down at your arms, hands and putter, and notice that they form the letter “Y.” As you make your putting stroke, you want to keep the letter “Y” intact throughout the motion. In doing this you’ll begin to gain consistency in the stroke and the ball will actually roll, rather than jump, off the putter.
There are two drills I use with my students when it comes to putting, the Ladder Drill and the Circle Drill. By adding these to your practice routine, you’ll see great improvement in all aspects of putting.
LADDER DRILL - Place 6 balls in a straight line from the hole, and separate each one by 2 foot increments (as you get a feel for this drill, you can move each ball farther and farther apart). Start with the ball closest to the hole and make the putt, then move to the next ball and so on. What you will sense is that each putt is “just a little more than the one before.” Remember, the length of the putting stroke determines how far the ball will travel, so the longer the putt, the more you lengthen the stroke. By the time you reach the final putt, you’ll have experienced a 2', 4', 6', 8', 10', and 12' putt. However, it will seem as though it’s only “just a little more than the one before.” With this drill, you’ll get a great feel for the speed of the green and length of the putting stroke.
CIRCLE DRILL - Find a hole on the practice green that has a substantial amount of slope to it. Place 6 balls around the hole each at a distance of 3 feet from the center of the cup. Begin with the putt that is uphill and work your way around the hole. You’ll experience all the possible breaks (uphill, downhill, right to left, and left to right) while doing this drill. After you complete the first round, lengthen the putts by moving them farther from the hole....let’s say 6 feet. Start again, and watch this time as the break becomes more pronounced as the distance increases. With this drill, you’ll get a feel for reading the green and playing the break.
Remember, there are 18 holes on a golf course and since every one of them has a green, you’ll always be putting. Spend as much time as you can working on these drills, and you’ll make putts left and right....straight into the cup!

Mastering Group Rides: Essential Skills for Cyclists

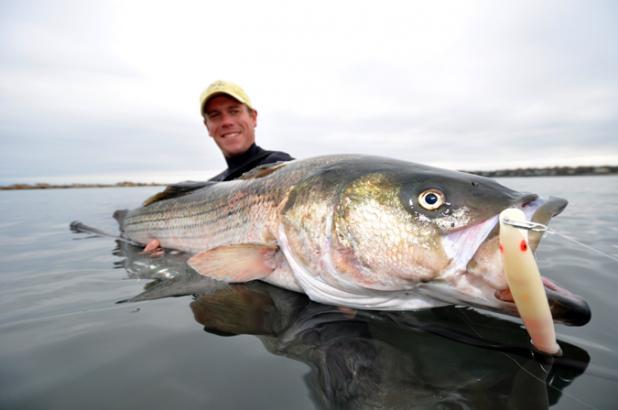
Top 25 Striped Bass Surf Lures: Proven Performers
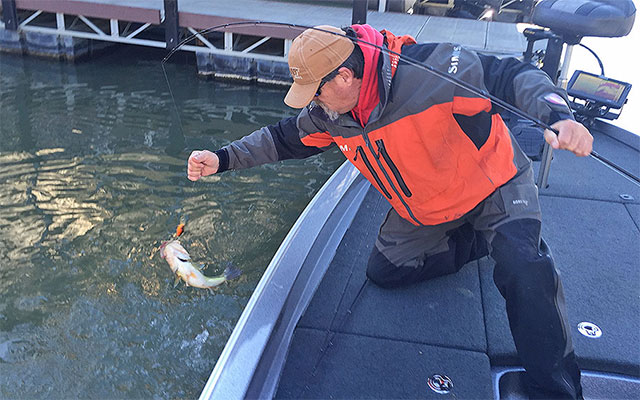
Spring Bass Fishing: How to Catch Fish After a Cold Front
Copyright © www.mycheapnfljerseys.com Outdoor sports All Rights Reserved