
This is a guide on how the professionals at Toyskinz install their sled wraps on various models of snowmobiles, such as Polaris, Ski Doo, Arctic Cat, and Yamaha.
Most people are overly intimidated by installing a sled wrap. We try to break down our graphics into small manageable pieces so that anyone can install one of our kits. The materials we use also have an air release channel so you work out all the bubbles easily. So what we tell all of our customers about installation is that we aren't launching a rocket to the moon here, it's just installing stickers. The 2 most important factors are Prep and Patience. Let's get started-
Make sure the snowmobile is in a well-heated area for 12 hours prior to installation and during installation. Also make sure the sled wrap is laid flat in a heated area as well.
Start by removing all the factor stickers. Using heat will make this an easy task as well as remove most of the adhesive with it. Remove the remainder of the adhesive and any polish, wax, or armor- all with a wax and grease remover. Then wipe the entire snowmobile with rubbing alcohol.
Next look to see where the pieces of the sled wrap actually fit on the snowmobile. Start with a large piece on the side panels. There are actually 2 methods we recommend. One is the "hinge method", where you cut out the piece of wrap material with the backing paper still attached. You will position the piece to where you'd like it to fit and run a piece of masking tape down the middle and onto the snowmobile panel. Then lift up one half of the graphic, remove the backing paper, and start the squeegee down from the tape in the middle towards the outside edge. Remove the tape, remove the other half's backing paper, and again squeegee down from the middle to the outside edge. There are several photos of this method on our website- www.toyskinz.com/
Many customers ask us about the soap and water method for installing graphics. We strongly discourage anyone from using soap and water. The reason is after you squeegee the water out there is still a small amount of soap left behind. Once this dries it will break down the adhesive on the graphics. Our graphics are made with specially formulated adhesive that you can actually place and lift to reposition if needed. Once the graphic is squeegeed down however it is permanently in place and should not be repositioned.
Stay tuned for Part 2 of this installation guide.
Mastering Group Rides: Essential Skills for Cyclists

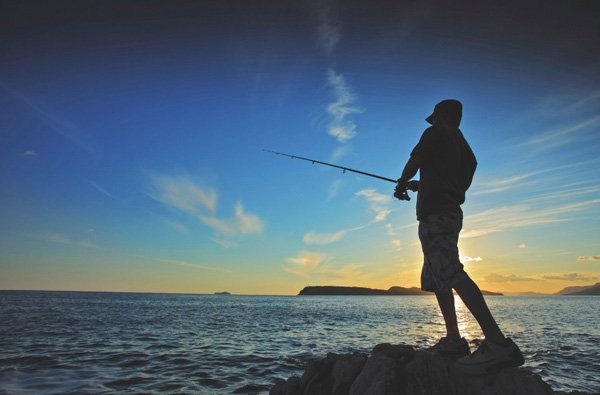
New Orleans Fishing Charters: Book Your Adventure | [Your Company Name]
![New Orleans Fishing Charters: Book Your Adventure | [Your Company Name]](https://www.mycheapnfljerseys.com/article/uploadfiles/201607/2016071816075473.jpg)
Plastic Boats: Innovations & Benefits for Modern Boating
Copyright © www.mycheapnfljerseys.com Outdoor sports All Rights Reserved