This article originally appeared on BaseballMonkey.com
In baseball and softball, a glove is a tool that players spend exorbitant amounts of time breaking in, working on, using and protecting. But eventually, the time comes for every glove when a lace snaps or a ball breaks through the webbing, and the last thing any player wants to do is throw out his or her well-conditioned glove and start fresh.
Your fielding glove is, in a sense, an extension of you, but that inevitable time will come and your glove will need repair. Softball and baseball glove restoration is something any player can do by simply following the instructions in this guide.
Re-lacing a glove is something that can be done in just a few hours. It's true that the first few times you do it, re-lacing can be one of the more complicated types of glove repair, but you'll become more comfortable with the process after having done it a time or two. You'll need the following tools to properly re-lace your glove:
You should be able find many of these items in the Glove Accessories section of BaseballMonkey.com's online store.
It's ok if you don't know how to repair a glove at first. Many people feel overwhelmed with the thought of re-lacing a glove on their own, but the process actually isn't as daunting as it seems. Follow these easy steps and you'll have your glove re-laced in no time:
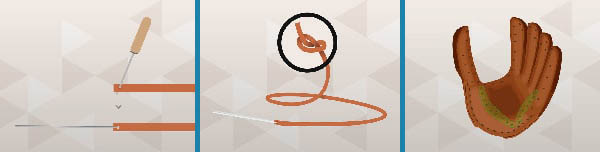
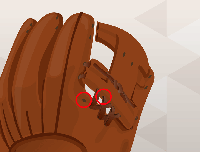
 On most gloves, the pattern you will want to follow for these next series of holes would be: lace, lace, lace, space, lace, lace, lace. When you reach the area where the web should be, use the closest hole and tie off a knot, while leaving enough to be able to tie it up later.
After following these steps, you'll know how to lace a baseball glove like a pro. Here are a few helpful tips to keep in mind when purchasing new laces for your glove:
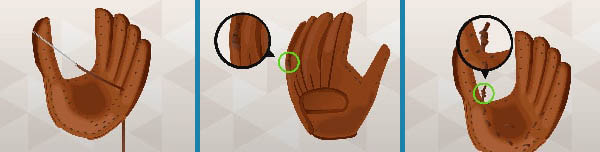
When you took the laces off your glove to replace them, you also took the webbing off. Don't worry—it's not hard to learn how to replace a baseball glove web. You're going to follow a similar process to re-attach the webbing to your glove as you did to re-lace it.
Remember, you actually need to complete this step before you finish the laces on the fingers. If you lace the fingers first, you will have to backtrack in order to get the lace through the top part of the pocket, the funnel. Follow the simple steps below to make your favorite glove new again:
 Begin on the thumb side of the glove, near the edge of the inner glove. Insert the lace into the hole near the edge facing inward on the glove toward the pocket. You will go through the glove and out of the hole located on the side of the pocket. Depending on what type of web pattern your glove has (I-web, H-web, trapeze, etc.), you need to follow the pattern to the top of the glove, funnel the lace through the top part of the pocket regardless of the style and go out the hole and through the web into the hole. You will continue this until you get to the top of the web where you'll then feed the lace through the funnel.
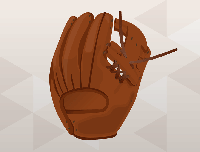 Finish your re-lace at the bottom on the outside of the glove one hole away from where you began. It should be relatively symmetrical on most pocket styles. This is a general way to check your work to see if you've re-laced your glove correctly. Another indicator to check your work is to feel the inside of your glove. Take your laces that are hanging out of these holes, cut them to the same length and tie them together in a knot to complete the process.
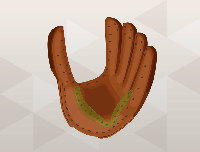
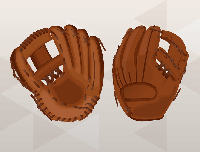 And voilà! This is what your glove should look like when it's complete:
With a little bit of time and work, your glove should be good as new. But if your glove is beyond repair, you can always shop BaseballMonkey.com's collection of new baseball and softball gloves.
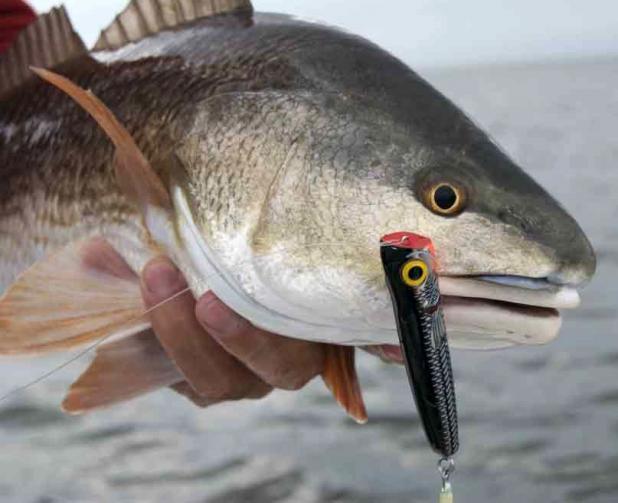
The Importance of Lure Eyes: Do They Really Matter?
Increase Golf Drive Distance: Reduce Spin for Longer Shots
Master Putting: A Beginner's Guide to Lowering Your Golf Scores

Copyright © www.mycheapnfljerseys.com Outdoor sports All Rights Reserved