1. Fishing rod (make sure it's clean and dry before starting)
2. Sandpaper (different grits, such as 120, 220, and 400)
3. Masking tape
4. Acrylic paint (choose colors that suit your preferences and the environment where you'll be fishing)
5. Paintbrushes (a variety of sizes and shapes for different areas of the rod)
6. Clear sealant or varnish (to protect the paint)
7. Drop cloth or newspaper (to protect your workspace)
- Sand the fishing rod with 120-grit sandpaper to remove any existing paint or coatings.
- Use 220-grit sandpaper to further smooth out the surface.
- Finish with 400-grit sandpaper to create a smooth, even texture.
- Wipe the rod with a damp cloth to remove any dust or sanding residue.
- Use masking tape to cover any areas you wish to keep the original color of the rod, such as the handle, reel seat, or guides.
- If desired, you can apply a base coat of acrylic paint that's a similar color to the paint you'll be using for the main design. This can help the final colors appear more vibrant and even.
- Let the base coat dry thoroughly before moving on.
- Use the paintbrushes to apply the acrylic paint according to your chosen design.
- Don't rush; allow each layer of paint to dry thoroughly before applying another one.
- Be creative and have fun with the colors and patterns!
- If needed, apply additional coats of paint for a more solid, vibrant finish.
- Allow each layer to dry completely between applications.
- Carefully remove the masking tape to reveal the finished design.
- To protect the paint and ensure your design lasts, apply a clear sealant or varnish over the entire fishing rod.
- Follow the manufacturer's instructions for application and drying times.
- Allow the rod to cure properly based on the sealant or varnish's instructions. This could take several hours or days.
- Once fully cured, your newly painted fishing rod is ready to hit the water and show off your unique style!
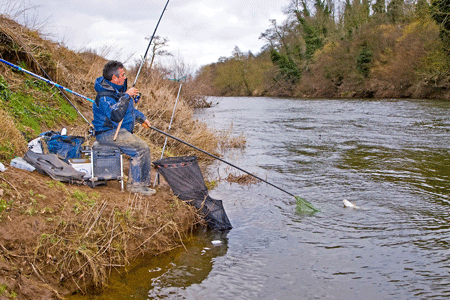
Winter River Fishing: Expert Tips from Dave Harrell
How to Become a Professional Wrestler: A Beginner's Guide
Correcting the Over-the-Top Golf Swing: A Step-by-Step Guide

Copyright © www.mycheapnfljerseys.com Outdoor sports All Rights Reserved