1. Site Preparation:
- Choose a level and well-drained area in your yard.
- Remove any debris, rocks, or roots that may damage the pool liner.
- Create an oval-shaped excavation that is slightly larger than the pool dimensions.
- Compact the soil at the bottom of the excavation to ensure a firm base.
2. Setting the Pool Base (Base Pad):
- Place the included pool base in the excavation.
- Ensure it's centered and fits snugly within the excavated area.
- Check for any gaps or uneven areas and make necessary adjustments to ensure a level base.
3. Installing the Uprights and Bottom Rails:
- Insert the upright supports (legs) into the provided sleeves in the base pad.
- Secure the uprights with pins or screws, as per the manufacturer's instructions.
- Attach the bottom rails to the uprights by slipping them into the designated slots. Make sure they're firmly locked in place.
4. Installing the Top Rails and Braces:
- Add the top rails to the uprights, connecting them to the bottom rails.
- Secure the top rails by inserting pins or screws.
- Attach the support braces between the uprights and top rails to ensure stability.
5. Laying the Pool Liner:
- Unfold the pool liner and spread it out on a clean, flat surface next to the pool.
- Center the liner over the base and carefully unfold it, making sure it's flat and smooth without wrinkles.
- Gradually fill the pool with a few inches of water to help hold the liner in place and prevent billowing.
6. Installing the Top Ledge and Wall Foam:
- Add the pool's top ledge (coping) around the perimeter.
- Attach the coping to the top rails using the provided pins or screws.
- Insert the provided foam strips around the perimeter, between the top ledge and pool wall, to secure the liner and provide a snug fit.
7. Installing the Support Buttresses:
- Position the support buttresses against the pool wall at designated intervals.
- Connect them to the top ledge and base using the provided hardware.
- Tighten the buttresses to ensure they're securely holding the pool walls.
8. Adding Water:
- Continue adding water to the pool until it reaches the recommended water level indicated in the pool manual.
9. Connecting Accessories:
- Install the skimmer, return jets, and any additional accessories as per the manufacturer's instructions.
- Connect the filter pump and hoses as per the pool manual to ensure proper circulation and filtration.
10. Maintaining Water Balance and Chemistry:
- Test and balance the pool water chemistry to ensure it's safe for swimming.
- Follow regular maintenance routines as recommended in the pool manual.
11. Final Touches:
- Remove any excess dirt or debris around the pool.
- Add a safety cover or fence to the pool area for security.
12. Enjoy Your Pool:
- Once everything is properly set up and the water is balanced, you can enjoy swimming and relaxing in your oval Doughboy pool!
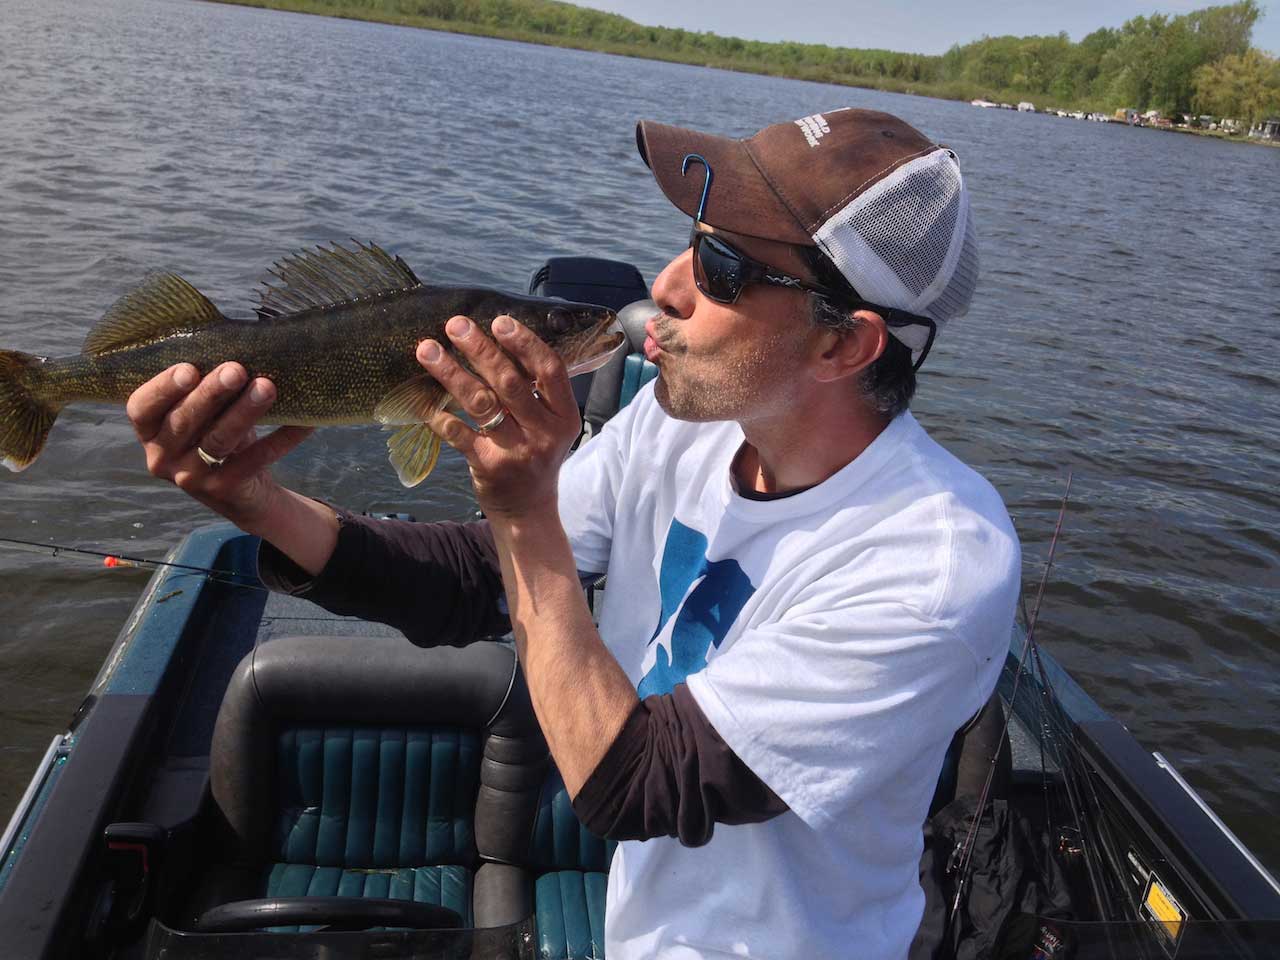
Wiley X Moxy Sunglasses: Indestructible Protection & US Military Approved
Heroes On the Water (HOW) Event at Picatinny Arsenal - NJ
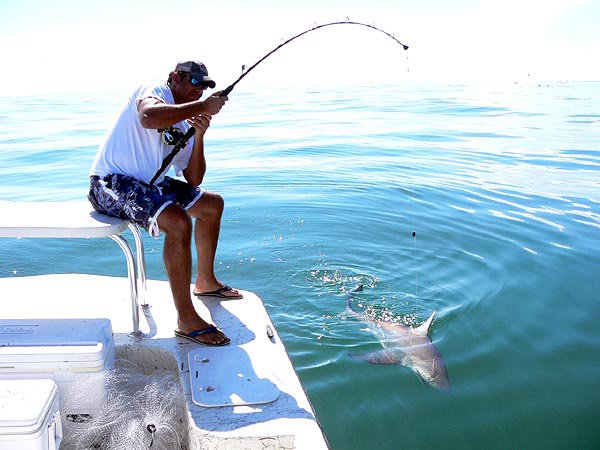
Effective Fishing Bait Guide: Choosing the Right Bait for Success
Copyright © www.mycheapnfljerseys.com Outdoor sports All Rights Reserved